Networking on the MBot
In order to control and program your MBot from your laptop, we will need the robot and laptop to be connected to the same WiFi network. We will then be able to connect to it with VSCode or NoMachine.
Students: Check with your instructor for instructions about how to connect to WiFi in your classroom.
Tip: Your laptop must be on the same network as the MBot to connect.
Connecting to WiFi
There are two ways to connect your robot to WiFi:
-
If you are on a regular password-protected WiFi network: Use the configuration file.
-
If you are on an Enterprise network: Manually log in.
No WiFi? Use the MBot’s Access Point.
Connecting to a Password Protected WiFi Network
On a regular password-protected network, like most home networks, connecting to WiFi can be done from the MBot’s configuration file.
Note: You will need to be able to read an SD card for this method.
- With the robot off, remove the SD card from the Raspberry Pi.
-
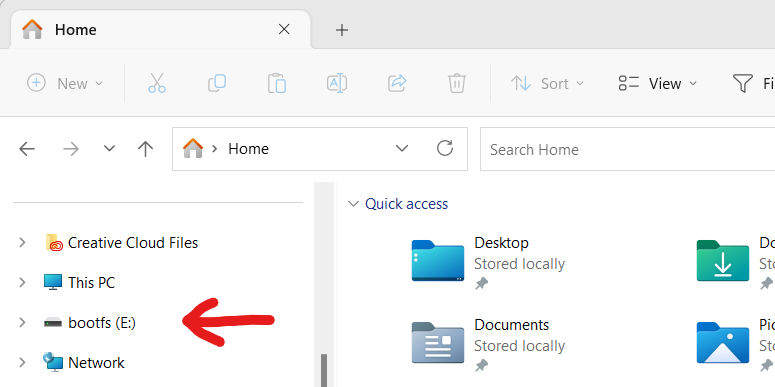
Plug the SD card into your laptop and open the SD card device in your file explorer. It will likely be called “bootfs”.
-
Open the file
mbot_config.txt. You can use any text editor for this.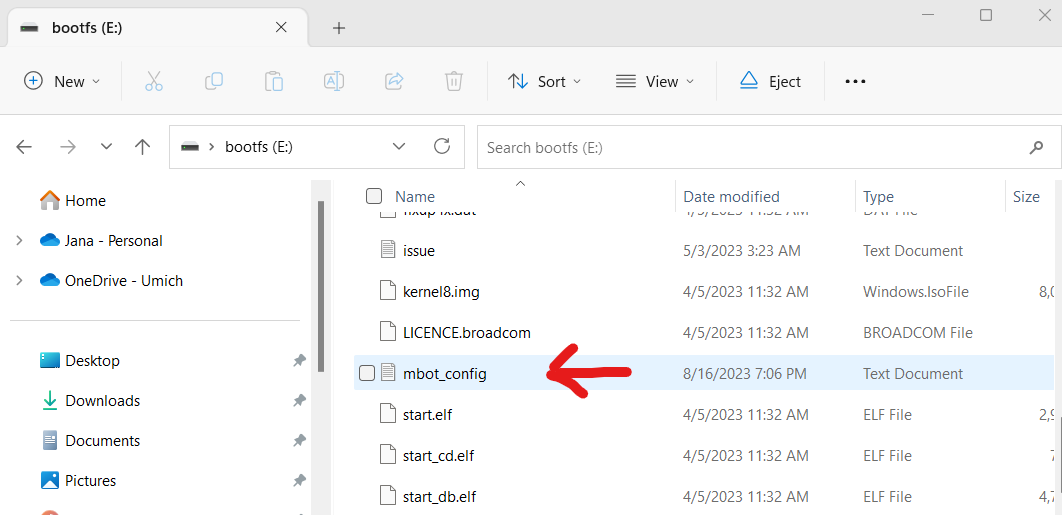
-
Set
new_wifi_ssidto the name of your WiFi network, andnew_wifi_passwordto the password.
Tip: In a pinch, you can use your phone’s hotspot to create a password-protected network to connect your robot to.
Connecting to an Enterprise WiFi Network
If your WiFi network requires you to log in with a username and password (for example, your campus WiFi), or if it requires two factor authentication, you will need to connect to it manually.
Tip: You should only have to manually connect to WiFi once. After that, the robot should remember the network and connect automatically. If it fails to connect (for example, if the saved credentials expire), you will need to do these steps again.
- Plug your robot into a monitor, and plug in a keyboard and mouse. Tip: You will need a mini-HDMI to HDMI cable to do this since the Raspberry Pi 4 and 5 use mini-HDMI connections.
- Turn the robot on.
- When you see the Raspberry Pi desktop appear, log in to the network following your network’s instructions. Tip: The Raspberry Pi uses a Linux-based operating system, so make sure to follow Linux-specific instructions if there are any.
At the University of Michigan? You need to connect to MWireless using the MSetup script. You can find the script SecureW2_JoinNow.run in the home directory in the base image. Or, download it from the MSetup website (select “Join Now” to download the file).
- Connect to the robot’s access point.
- Connect to NoMachine using the local access point.
- Then in the terminal in NoMachine, run the setup script:
sh SecureW2_JoinNow.runWarning: When you connect to the network, NoMachine will disconnect. This is normal! If you see an IP show up on the display, it worked. If it didn’t work, you might have typo when input your UM credentials, will need a monitor and keyboard to fix it.
Connecting to the MBot’s Access Point
If the MBot fails to connect to any known WiFi network, it will create its own WiFi access point.
Tip: If you don’t need WiFi on your robot, you can use the access point to connect to the robot and avoid connecting to WiFi. For example, if you are running a demo and don’t need to download any files or access GitHub, or if you are okay with copying any files or code from your laptop to the robot.
-
Find the access point: To find the access point, click on the WiFi icon on your laptop and look at the list of available connections. You should see a network called
[MBOT-HOSTNAME]-AP, where[MBOT-HOSTNAME]is replaced with the hostname of your robot.Tip: It can take a few minutes for the robot to create the access point, and for your computer to register it. Be patient while waiting for the access point to appear! You can also use your phone to check if the access point is available.
-
Connect to the robot’s access point: Connect your laptop to the WiFi network hosted by the robot using your network manager. By default, the password for the WiFi network (not for the robot!) is
iloverobots. You can also get the password of the network from the configuration file in the keymbot_ap_password. See the configuration guide for details.Note: Your laptop will now be connected to the robot’s network. You will not have WiFi on your computer while you are connected to the robot this way.
-
Connect to the robot: You can now connect to the robot using
[MBOT-HOSTNAME].localinstead of the IP address (replacing[MBOT-HOSTNAME]with your MBot’s hostname). You can use NoMachine or VSCode to connect.Note: You will have to create a new connection in VSCode or NoMachine when you connect with a different address. Make sure you pick the connection that matches the robot’s IP address.