MBot Setup: Configuring your Image
Note: Configuring your image only works for the official MBot images. If you are using a different image (like a standard Raspberry Pi image), you will need to setup your image before configuration.
The MBot configuration, including its name, WiFi connection, and IP registry configuration, is controlled by a file called mbot_config.txt, which can be accessed directly from its SD card. This makes it easy to update the robot’s information on first boot or if something about your configuration changes, without needing to plug a monitor, keyboard, and mouse into your robot.
If you are configuring a new robot, you must first install the OS on a new SD card.
Prerequisites
You will need the following information:
- Your robot’s name (your course staff will tell you what your robot should be named to keep the fleet organized),
- The WiFi connection information for your classroom or home
- You will also need a way to read and write to a Micro SD card. You can use a laptop with an SD card slot or a USB adapter.
Connect to the SD Card
-
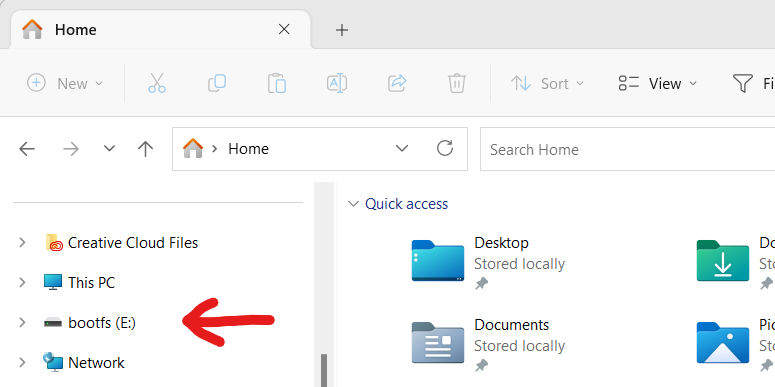
Remove the SD card from your robot’s Raspberry Pi and plug it into your computer.
Warning: If a message pops up telling you that there is a problem with the drive or asking you to “fix” the SD card, ignore it!!
-
Open the SD card device in your file explorer. It will likely be called “bootfs”.
Edit the Configuration
-
Open the file
mbot_config.txt. You can use any text editor for this.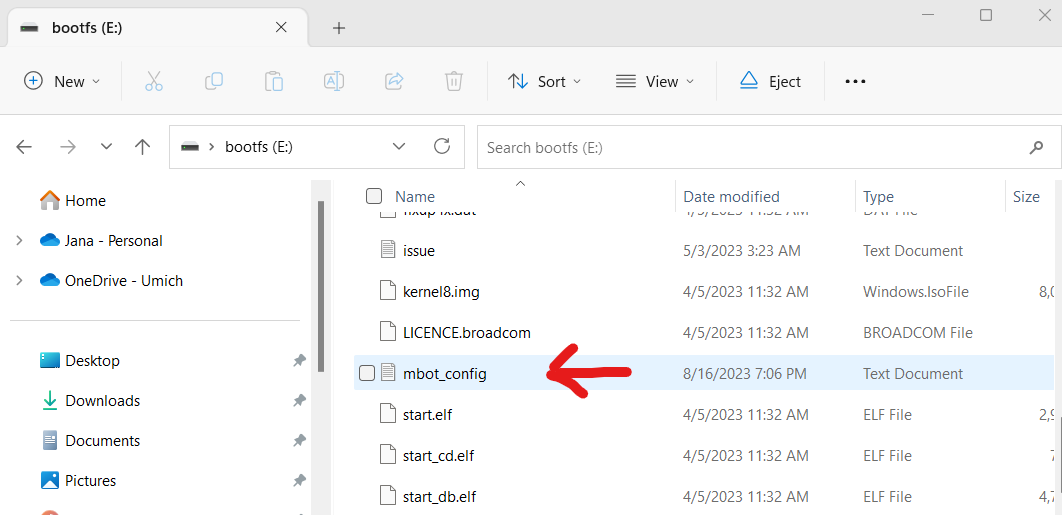
-
Edit the file contents. The file will look something like this:

See the MBot Configuration section for details about how to edit this file. When you are done making the changes, don’t forget to save and close the file.
Students: Check with your course staff for configuration information for your class.
-
Eject the SD card. Once ejected, you can remove the SD card from your computer and put it back in the robot’s Raspberry Pi.
Warning: Don’t skip the step to eject the SD card before removing it from your computer! Otherwise, you may corrupt the card.
MBot Configuration
The following information can be configured in the mbot_config.txt file:
mbot_hostname: The robot’s name. This will be the name that it uses to publish to the IP registry and the one that is displayed in the webapp. This name should be unique. You should also label the physical robot with this name to identify it.mbot_ap_password: This robot’s access point password. If the robot cannot connect to WiFi, it will start an access point with the hostname as the name and this as the password, which you can connect to with your computer’s network manager.
Wifi Information. This is only for networks which can be joined with a name and password only. If you are at an institution with a special network configuration (like Michigan), you will have to configure the WiFi separately.
new_wifi_ssid: The name of the WiFi network you would like your robot to join.new_wifi_password: The password for the network.
IP Registry Configuration. An IP registry is one way to get your robot’s IP when it turns on. If configured, the robot will publish its IP to the registry using a GitHub account which must have write access to this registry.
Not using a registry? Leave these as is.
mbot_ip_list_url: The URL for the IP registry on GitHub, ending with.git.mbot_ip_list_user: The username of the GitHub account the robot uses to publish its IP.mbot_ip_list_token: A token the robot can use to push to the registry (this is in place of using a password, which GitHub no longer supports).
Connecting to WiFi
If you are on an Enterprise network (e.g. you are on the UM campus), you will need to connect your robot to the network manually.
See the Networking Guide for instructions on how to do this, then go to the calibration step.
Previous Step: Installing the OS Next Step: Calibration & Flashing